We love Beehiiv. That’s why we chose it to run our email marketing campaigns.
Creating a custom landing page for email signups on your WordPress website can dramatically improve your conversion rates. They also show your customers that you have a powerful brand.
Important:
There are 2 distinct levels of “custom” with Beehiiv.
- Beehiiv offers their own version of a custom landing page:
In our experience, we’d call this “partial customization” - If you want “full customization”, then you need to use the API (more details below)
It works better and looks better to have a beautiful landing page or lead magnet, rather than a generic looking one.
With Beehiiv, it is absolutely possible to create any type of landing page you want.
In this guide, we’ll walk you through the process of using the Beehiiv API to create a fully customizable landing page on your WordPress website.
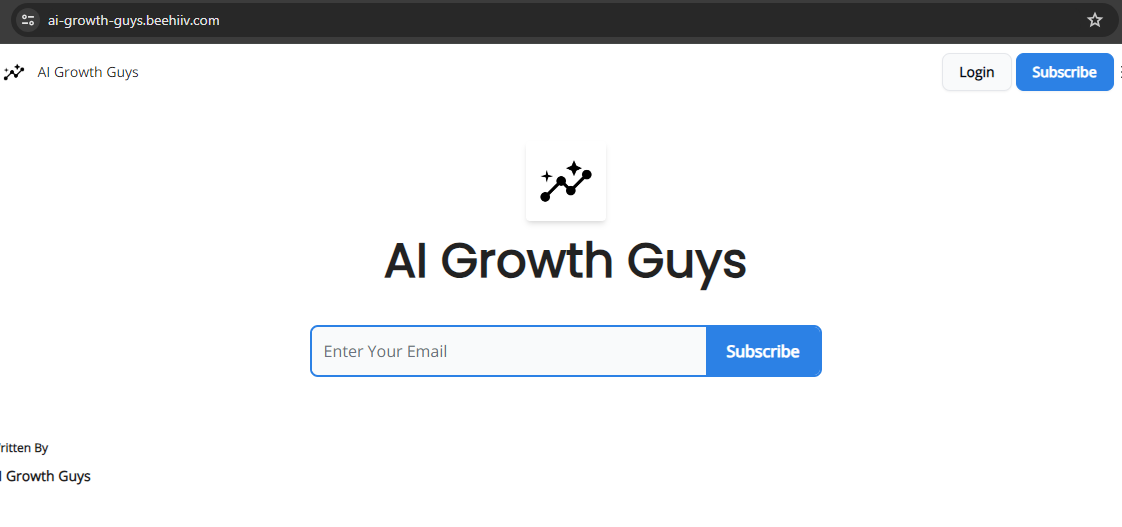
Before I get into full customization with the API, let me first show you the partially customized page I made easily with the Beehiiv tool.
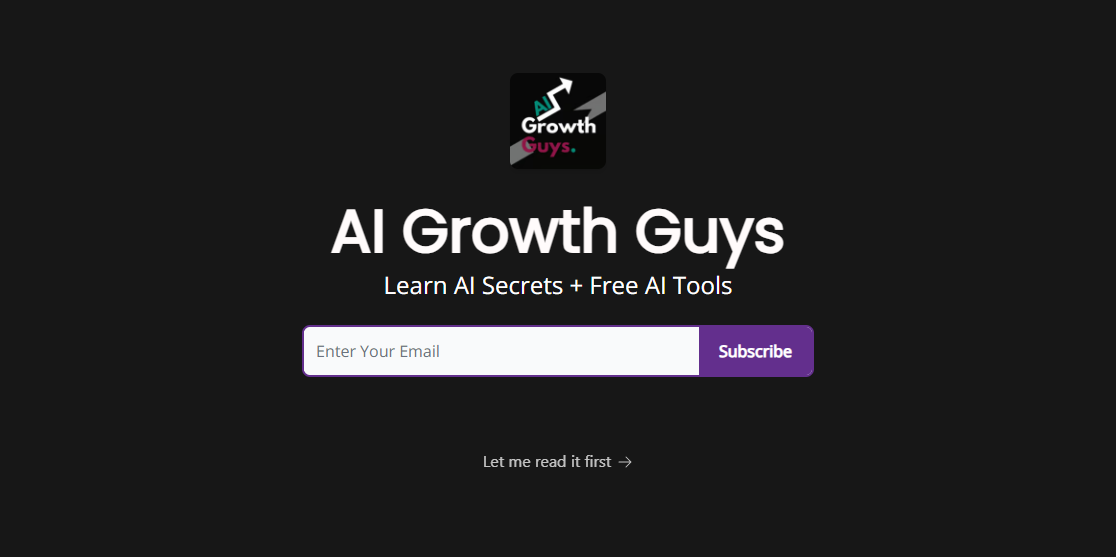
Here is what I started with:
With the Beehiiv tool, I was able to:
- Change the logo
- Change the background and text color
- Change the copy (and fonts)
- Change the subscribe button color
But I wasn’t able to:
- Change the logo size
- Change the color of some words in the copy “for example, I couldn’t change ONLY the color of “AI”
- Change the general look and functionality of it.
This is what the tool actually looks like from inside the dashboard:
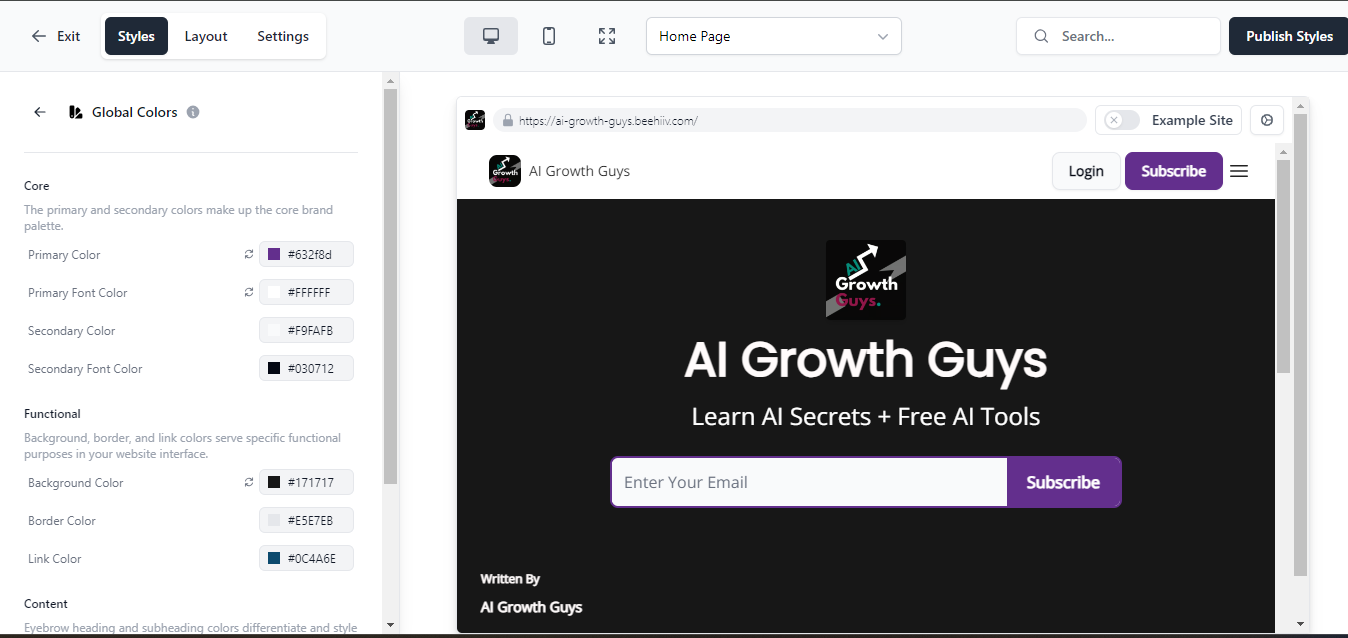
Basically, you can play around with the sliders on the left side bar. If you’ve ever used tools like this, I think it is fairly obvious what kinds of things it can and can’t do.
Some people choose ConvertKit because of the better looking landing page templates. (Read: What is better, Beehiiv or ConvertKit?)
But we have figured out how to make Beehiiv landing pages look exactly how you want them to look.
Why bother Customizing your Landing Page?
One of the most important parts of email marketing is collecting email addresses.
There are several reasons why you would want to control exactly how the landing page looks and functions.
The 3 main benefits of a fully customizable landing page:
- Higher Conversion Rates: An awesome looking landing page that looks and feels exactly like your brand will absolutely convert much better than a generic landing page.
- Consistent Branding: It is important to keep your brand image consistent across all platforms
- Improved User Experience: Keep your users on your website. When you build a custom landing page through the Beehiiv API, you are able to keep users on your own website after they enter their email, instead of being taken to a “your-domain(dot)beehiiv” link outside of your website. You not only control the look of the page, but perhaps more importantly, you control the entire user experience and flow.
Prerequisites
Before we start, make sure you have:
- A WordPress website
- A Beehiiv account
- Basic knowledge of HTML, CSS, and JavaScript
- Access to Beehiiv API documentation
Note: Go to the bottom of the article if you need help. We offer Beehiiv consulting services to take your newsletter to the next level.
Step-by-Step Guide
Step 1: Create an API Key
First, log in to your Beehiiv account and navigate to the API section. Generate a new API key that you’ll use to authenticate your requests.
Step 2: Design the Look of Your Landing Page
Design the look of your custom landing page. We personally use Canva and Photoshop to design our logos and do mockup versions. These tools are much more powerful than the Beehiiv in-house tool.
Make sure it matches your website’s branding and includes a clear call-to-action for email signups. Give people a reason to sign up!
Step 3: Set Up the HTML Form
On your WordPress website, create a new page and add the HTML form for email signups. Here’s a basic example but will need to be adapted. It is just to give you an idea of what you will need to do and where to put the code in your WordPress site. :
html
<form id="signup-form">
 <input type="email" id="email" name="email" placeholder="Enter your email" required>
 <button type="submit">Join Us</button>
</form>
<div id="response-message"></div>
Step 4: Write the JavaScript Code
Next, write the JavaScript code to handle the form submission and send the data to Beehiiv using the API.
javascript
document.getElementById('signup-form').addEventListener('submit', function(e) {
 e.preventDefault();
 var email = document.getElementById('email').value;

 fetch('https://api.beehiiv.com/v1/subscribers', {
 method: 'POST',
 headers: {
 'Content-Type': 'application/json',
 'Authorization': 'Bearer YOUR_API_KEY'
 },
 body: JSON.stringify({ email: email })
 })
 .then(response => response.json())
 .then(data => {
 document.getElementById('response-message').textContent = 'You have successfully subscribed to the newsletter!';
 })
 .catch(error => {
 document.getElementById('response-message').textContent = 'An error occurred. Please try again.';
 console.error('Error:', error);
 });
});
Step 5: Style Your Form
Use CSS to style your form and make it look appealing. Add the following CSS to your WordPress theme’s stylesheet:
css
#signup-form {
 display: flex;
 flex-direction: column;
 align-items: center;
 max-width: 400px;
 margin: 0 auto;
}

#signup-form input,
#signup-form button {
 width: 100%;
 padding: 10px;
 margin: 5px 0;
}

#response-message {
 margin-top: 10px;
 color: green;
}
Step 6: Test Your Landing Page
Before publishing, test your landing page to ensure everything works correctly.
Submit a test email address and make sure that it gets added to your Beehiiv list without any issues.
Step 7: Bonus Step – Think of the signup journey
This should be an earlier step in the process, if you actually do it. It is a little more involved though.
The default setup from Beehiiv is to take the subscriber off of your WordPress website and onto a (your-domain(dot)beehiiv.com) sub domain.
We would prefer to collect the email address from one of our readers, and keep them on our website the entire time, without having them take an intermediate step to the Beehiiv domain.
We can help set this up for you. Read below
Conclusion
By following these steps, you can create an awesome looking, fully custom landing page for email signups. It will be on brand, high converting, and keep your users on your website.
If you need any help with the technical setup or customization, feel free to reach out to us for expert consulting services.
If you don’t know about coding or dealing with APIs, don’t worry, we’ve got you covered. Sign up here and we’ll do it for you. Let us handle the tech, so you can focus on growing your email list.
Pricing Packages:
- Basic Setup: Custom Landing Pages and website integration
- Full Customization Package: Contact us for a quote
Some of the links in this post may be affiliate links. We might earn a small commission at no extra cost to you. It’s one way to support us and keep things running. We also only put affiliate links we believe in fyi.